AttentionDeficitChef

Tuesday, September 26, 2006

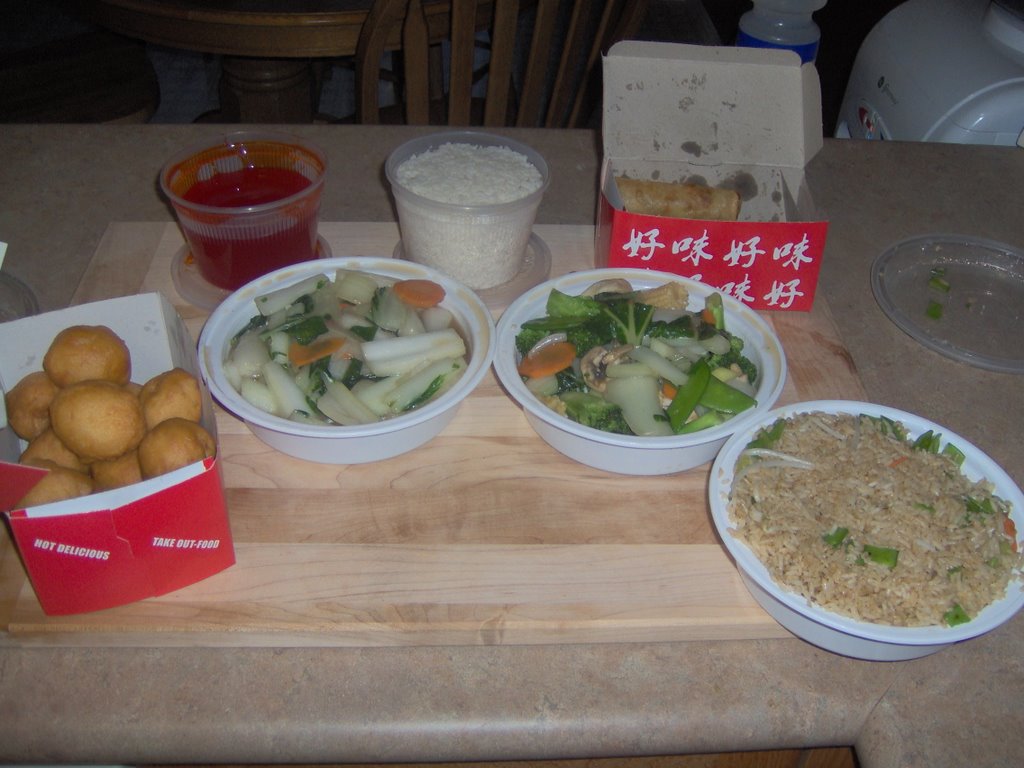
Atlanta Trip - Cook's Warehouse - Vegetarian Cooking Class

On my trip to Atlanta I had the opportunity to take my first cooking class ever. I had two choices at first - a vegetarian cooking class and another more home style cooking class 'Fall for Fall Hands On'. After some consultation with my wife - who is a vegetarian - I decided to take the vegetarian cooking class. Now I have a confession to make - I'm not a huge Indian food fan, in fact I really haven't liked much Indian food I've ever tried. Same for Christine (my wife) but I figured that at the minimum I'd learn something new which I could bring to the kitchen and I suspected there are Indian dishes out there I would like.

I didn't know much about Indian cooking but I believed that I just had a history of choosing poorly at Indian restaurants - kind of a 'bad idea menu' thing. However, I was not deterred - after all there's something like a billion Indians (in India alone) eating this kind of food everyday so it would be pretty shocking if there was no Indian food I liked. Plus, I thought it would be downright arrogant to make a statement so broad and sweeping as I don't like Indian food.

So on to the course. The description stated that we would be making the following dishes (I'll post the recipes as well):
Saag Paneer - reduced spinach with cheese, onions, ginger, garlic and more
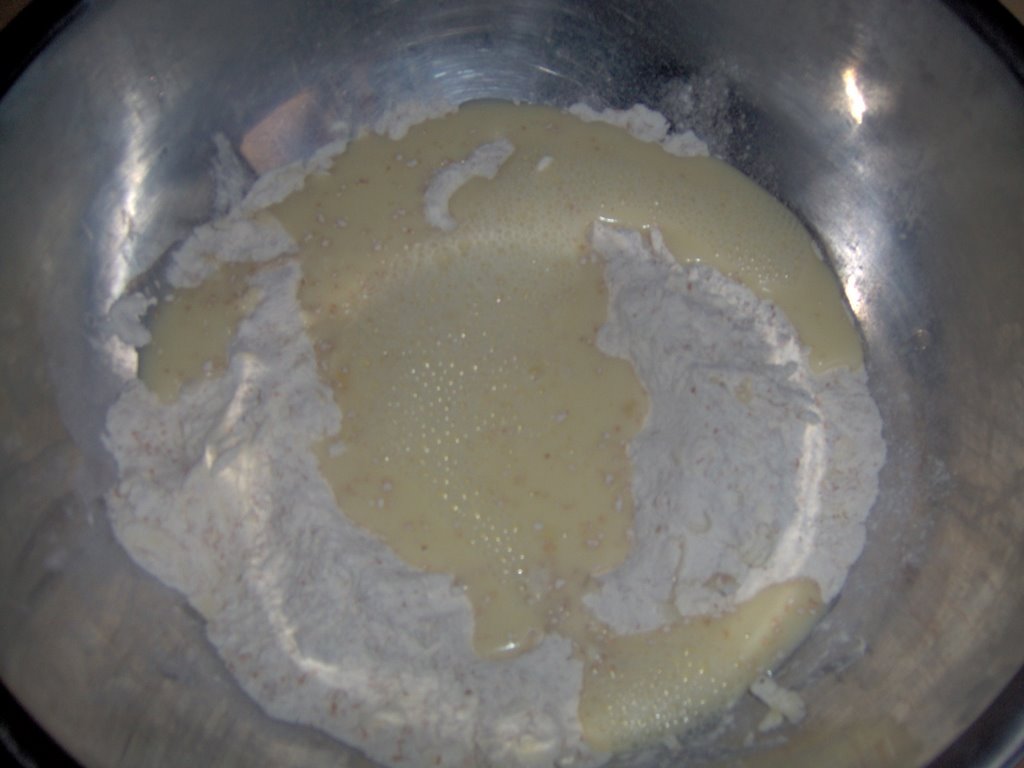
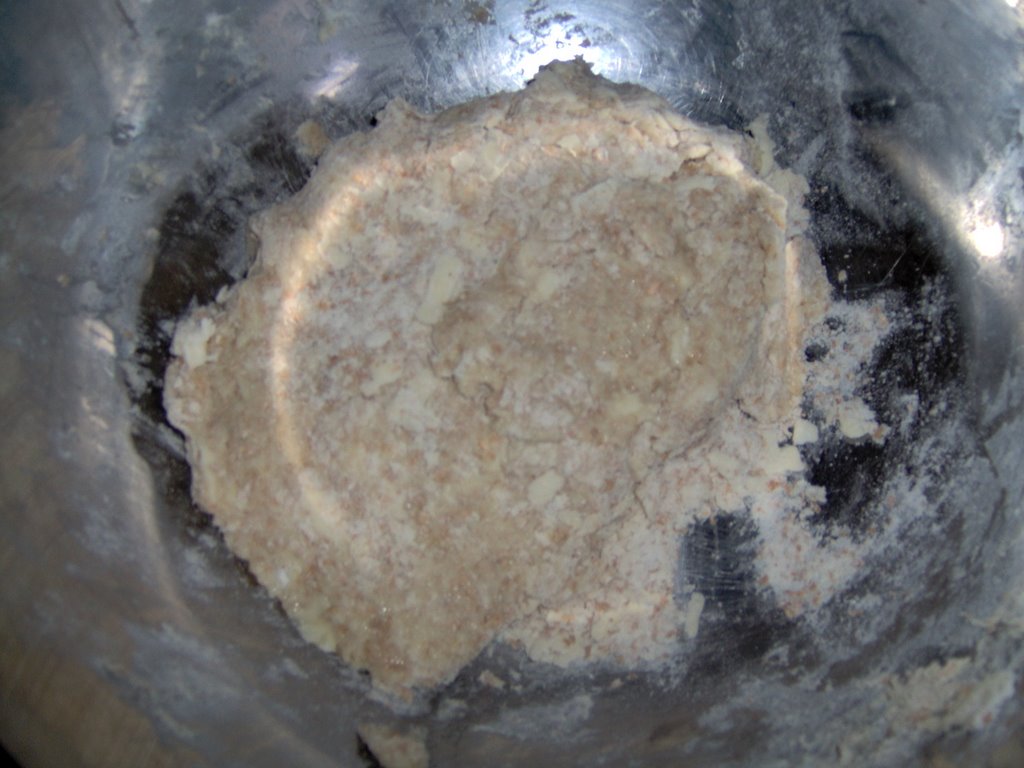
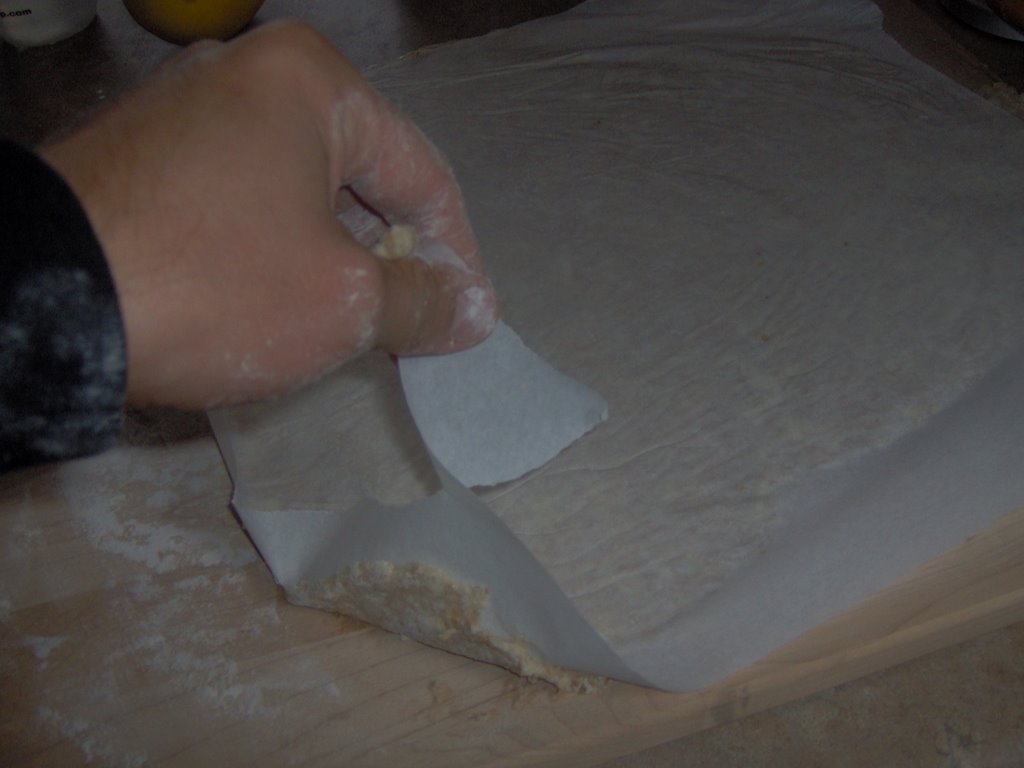
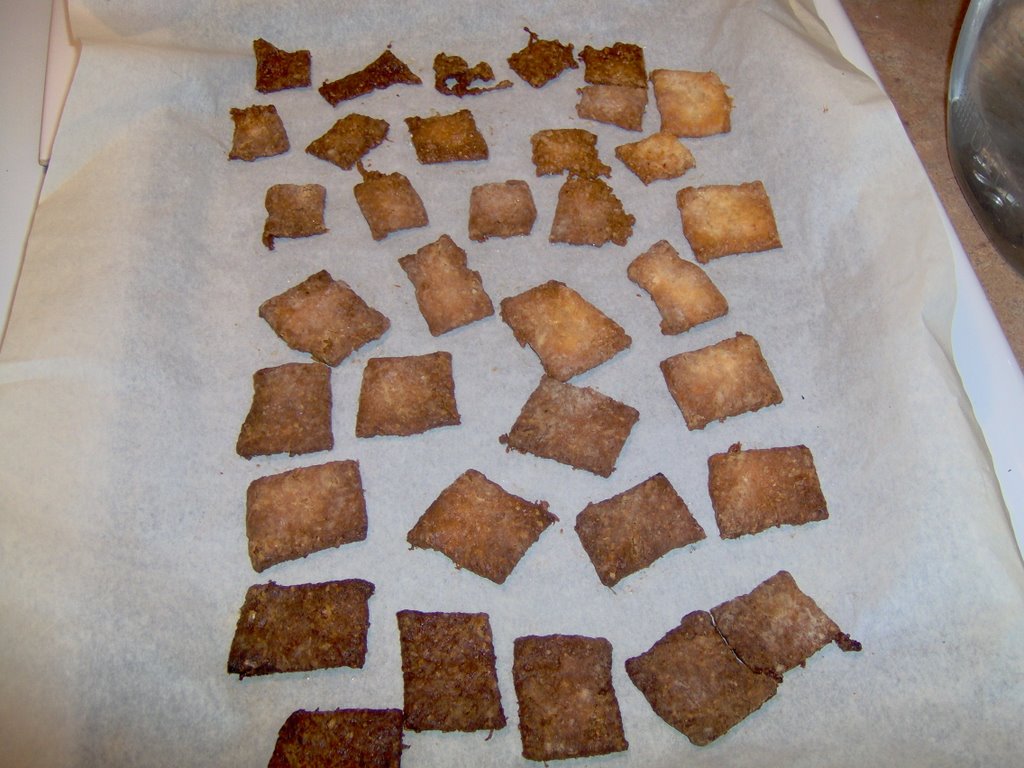
Whole Wheat Parathas - a flat bread grilled on a pan
Bengan Bharta - roasted eggplant with tomatoes, onions and spices
Toor Daal - yellow lentil soup with tarka
Peas Pullao - a rice cooked with spices and combined with peas
Raita - this is a yougurt mixed up with spices and fresh veggies like cucumber and tomatoes

I'll go into more details on the food later on but I want to give my general impressions while I still remember. The Saag Paneer was great - the taste was not too spicy and the spinach combined with the Indian cheese made for something really different but not too exotic. I'm definately making that again.

Whole wheat Parathas - amazing! I had these once years ago but I could not remember what they were. In fact, I've tried to order these many times in Indian restaurants but always ended up with a different bread. These are very easy to make and you can spice them any way you like. The dough takes about 10 minutes to make, let it rest for 30 minutes and then go crazy!

Roasted Eggplant - another amazing dish with tons of potential. The eggplants were roasted until they were completely soft and collapsed then mashed and combined with tomatoes and onions. I figured that I could change the ingredients up on this using the roasted eggplant as a base and the potential is endless.

Toor Daal (yellow lentil soup with tarka) - this was not one of my favorites. I suspect it was because of the curry leaves in the dish. Still, I liked the technique of cooking the lentils and it will start my experimentation with lentils.

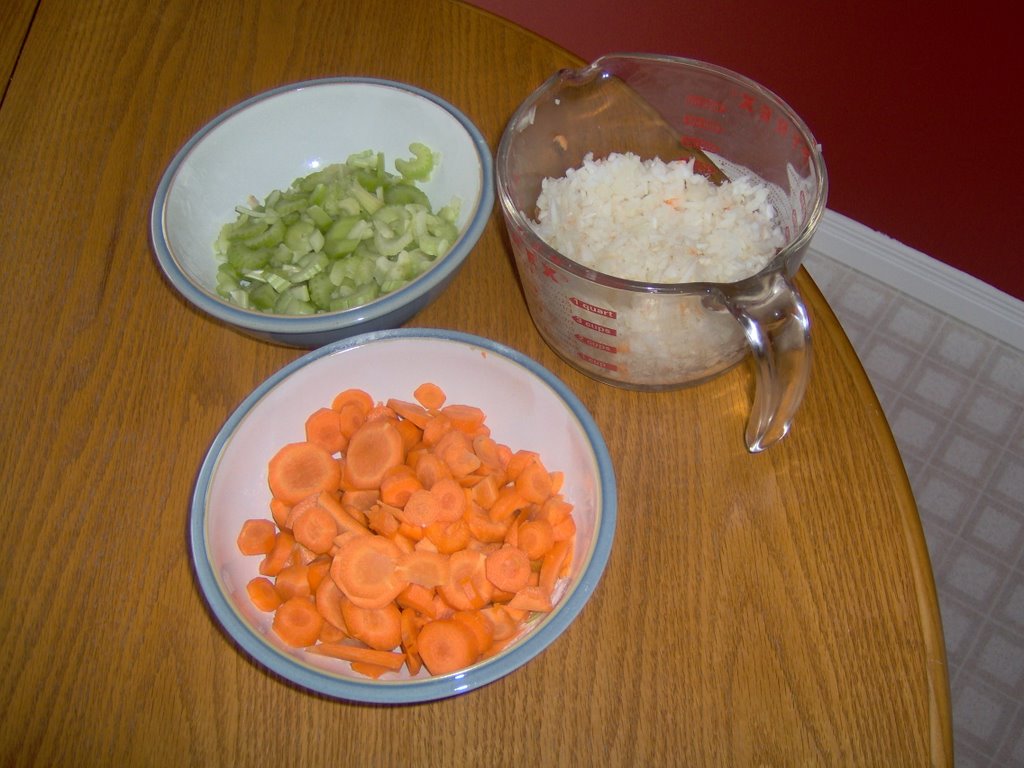
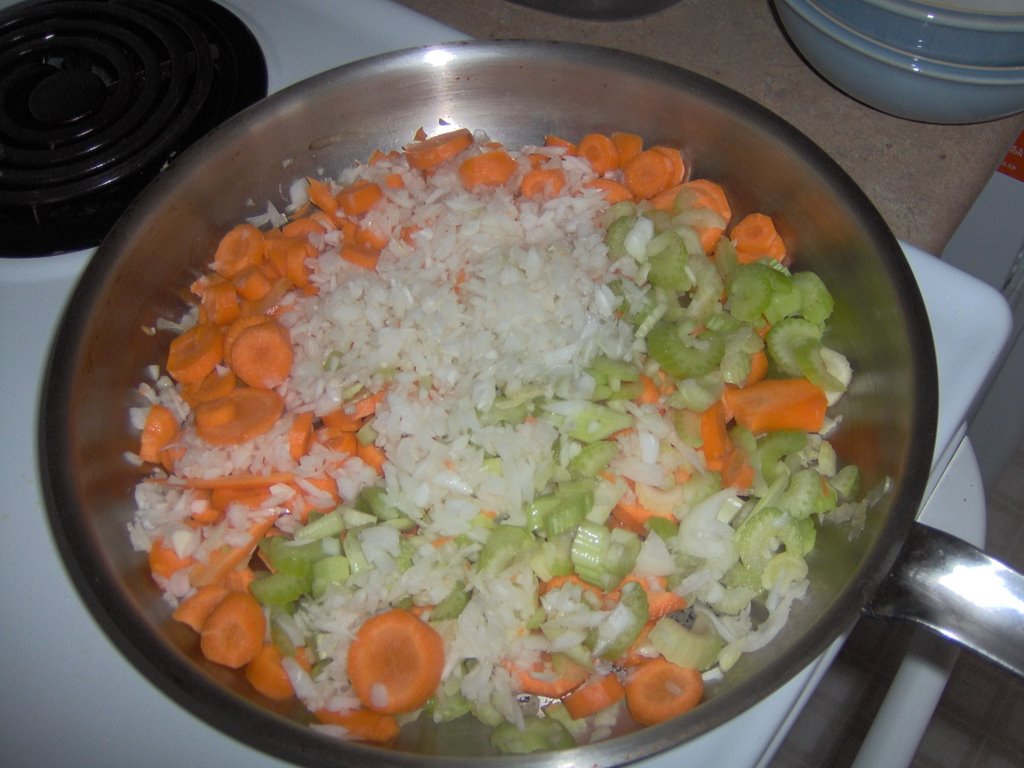
Peas Pullao - this seemed to be a basic rice dish. I'd never seen rice cooked like this. The basmati was soaked for about 20 minutes. In the meantime cloves, cinnamon, cumin seeds and onions were cooked briefly then water was added and brought to a boil. None of this was drained out and the rice was added and cooked as usual. The rice was pretty good in the end. I didn't think it was anything to write a blog about :) but it was pretty good.

Raita - another winner. This yogurt based cold dish is served on the plate as a sauce and is used when the other dishes are burning your lips off. It tastes great and really works. A couple of times I was getting a little hot under the collar and the raita really took the temperature down - fast!

The chef was Archna Becker - she owns a restaurant close to the location of the Decateur Cook's Warehouse. She was great - very knowledgeable, enthusiastic and down to earth.

In the end I loved the cooking class and am really keyed up on taking more in the near future!


Atlanta Trip - Cook's Warehouse

This week I'm on business in Atlanta. - a weeklong training course so I can be a better IT guy. As you may or may not know I'm an Alton Brown freak - and he's from Atlanta - so when prepping to go to Atlanta I of course researched his suggestions.

Among his list of places to eat, places to see and things to do was visiting the Cook's Warehouse. He mentioned their great supplies for the kitchen as well as their cooking classes. As I always do I take his word for gospel and was as such on a mission to check it out. After checking their website (and consulting my lovely wife) I selected the Vegetarian Indian Cooking Class taught by Atlanta Chef Archna (Anic) Becker. She has a restaurant in Atlanta recently voted best in Atlanta. More about the class in a future post.

As for the store - it was pretty cool. It wasn't as big as I thought it would be, but it wasn't as expensive as I thought it would be either. In fact there were so me downright good deals. Using all my willpower I left after only buying two items (grand total $29 USD) - an old school French rolling pin and a new school Silpat - the closest I can describe it is a silicon baking mat but I fear I'm not doing it any justice. I'll let you know how they work out in a future post.

Coming home from the warehouse to my hotel near the Perimeter Mall was an adventure and a half. It took me almost two hours to travel 16 miles - the roads signs in Atlanta are BRUTAL. Roads merge into one another and change names several times, etc. I used to think I had a good sense of direction!

So was it worth the trip - it was fine - fair prices, decent selection - just not as grand as I thought it would be in my head...


Tuesday, September 19, 2006

Grilled Portobello Mushroom Caps

Here's a friend's recipe that is great! He makes them on the grill and they are a great vegetarian option for bbqs or parties where your grilling up steaks or burgers and you need some vegetarian options - the meateataers will love them too:
1 pound portobello mushroom caps
1 tablespoon olive oil
1 teaspoon chopped garlic
salt & pepper to taste
1 teaspoon chopped fresh thyme leaves

Wipe the mushroom caps clean with a damp towel. Combine the olive oil and garlic and brush the mixture on the mushroom caps. Season the mushrooms with salt, pepper and thyme.

Grill or broil the mushrooms until tender.

Friday, September 15, 2006

Lantern Restaurant Review

Once or twice a year (ok - maybe four or five times a year) the need for Chinese overcomes me. Typically, we grab take-out from a place on Victoria Street in Kitchener (Lai Lai's - sorry, no review yet but the food is great) but in the interest of supporting the neighbourhood business we decided to try The Lantern (Fischer-Hallman & Ottawa, Kitchener).

We ordered sweet & sour chicken balls (I can't resist this despite the wide quality range associated with them), veggie fried rice, mixed vegetables and Chinese greens.

Let me start with my favorite 'Chinese' Food staple - the chicken ball. Now, some may mock me for my love of the low-brow chicken ball but quite frankly I don't give a damn. The problem with getting chicken balls is that the quality is often suspect - bad chicken, way too much dough, etc. I'm very happy to report that the Lantern has one of the best chicken balls I've ever had. Filled with lots of white-meat chicken with a think coating of the batter - perfect!

The rice - excellent. This is a standard dish and they did it well.

Chinese greens - this was our 'try something different thing'. Basically it is some kind of spinach or lettuce, some crunchy vegetables served up in a broth. As you can see I don't know many of the ingredients but it came together nicely and was a good complement to all the other dishes, including the similar mixed vegetables.

Mixed vegetables - a standard and the Lantern did well by them.

So overall, the food was great! Sorry for the vague details but it was about two weeks ago when we ordered it all.

That being said - I'd recommended giving the Lantern a try.

Sunday, September 10, 2006

Pickling Day - Part 1


Hey there,
Yesterday was pickling day. Or I guess pickling and canning day. Very exciting indeed. My wife and her sister love home made pickles and they have a family recipe which I'm about to disclose. Hopefully that is ok! ;) Last year I made these pickles with my wife and they turned out great. This year I invited a friend over to help and we canned all day - canning some tomatoes for general use, and making spicy beans as well. We bought a bushel of pesticide-free pickles for $25 at the Farmer's Market and the yield was 22 1 litre jars of pickles.


Here is the recipe (word for word) that I use. At the end I'll document the changes I made.


"Wash pickles really well. I use a small brush. Place pickles tightly in a quart jar. Put the larger pickles on the bottom of the jar in the centre. Then put a sprig of dill, a sprig of summer savory and a cut up clove of garlic in the jar. Note that you can also put a few small kernels of hot peppers in the jar if you like your pickles spicy. Fill rest of jar with smaller pickles.


When all the jars are filled, put one teaspoon of sugar and one tablespoon of pickling salt in each jar.


In a pot, boil the following brine for the pickles.


7 cups of water

1 cup of pickling vinegar


Pour hot boiled brine in each jar to cover all the pickles.


Also, boil the rubber rings or lids for a few minutes and then put on each jar and seal.


Place the sealed jars upright in a large pot of hot water and bring to a boil. Water level should be about half way up the sides of the jars. Depending on the size of your pot, you may only be able to get three of four jars in the pot at a time. Once the water is boiling, turn off and cover the pot with an old towel and let cool until the next day.


Note: It takes about 1.5 to 2 cups of brine for each quart jar.
"


Here are the adjustments I made. I covered the jars with 1 inch of water during the canning process. Also, I boiled the pickles in the canning pot for 10 minutes because I didn't want to leave them sitting in the pot overnight because:
a) I had a lot of pickles to make

b) I had lots of tomatoes to can (see my next post)


Finally, I doubled the garlic in each jar (at least) plus I threw some halved fresh chiles in some jars. I'm not sure how that will work out but I'll let you know. One last note - you may see that some of my garlic turned greenish (I think this may be due to the fact I cut up 6 whole garlic and left them out during the canning process) - I consulted my canning book (The Bernardin Guide to Home Preserving - we grabbed this with the jars for a


Now to wait two months or so to see how they taste.....

Wednesday, September 06, 2006

Meat Pies! Success!

What to do when you are one guy with a vegetarian wife, who has managed to roast a sirloin and cook beer can chicken in the same week? Well besides from eating as much of them as humanly possible (which I did with some gusto) you make meat pies of course!

This was my first attempt at making a meat pie but the results were amazing - I'd say the best meat pies I've ever had. Because of length I'm
going to separate this into two separate blogs: Meat Pies! Success! (the one you're reading now) and Pie Pastry 101. I'll let you figure out the contents of each.

First - the recipes. The chicken pot pie recipe I followed loosely was from Cooking for Engineers (man I love that site!). The steak pie I made came from the following recipe which I followed even MORE loosely.

Here are the main ingredients - nicely chopped and presented. I used my food processor to cut up a large batch of celery, carrots and onions (what a trio!). How much you ask? Whatever I had on hand and looked right. I'm only going to go into detail on the steak pie here as you should follow the Cooking For Engineers recipe for the chicken - it was amazing!


To the left is a picture of the main ingredients for the steak pie. I cubed the steak up pretty small so as to be a very manageable bite. I used Campbell's Beef Stock as I haven't had a chance to make my own yet, some Cremini mushrooms, and some freshly chopped parsley.

First I sweated the trio of veggies for 5-10 minutes. The beef was pre-cooked (I used a sirloin tip roast) so I just combined the mushrooms, parsley, beef, carrots, onions, and celery in a big mixing bowl and combined it well. When that was done I threw in about 2 -3 tsps of nutmeg, alone with some thyme, salt and pepper. Then I poured in somewhere between 4-6 tablespoons of beef broth and mixed well.


Then it was on to filling the pie shells. I bought the containers at Sobey's because:
a) i thought they were a good size b) they seal nicely for the freezer

Here are the lovely pictures of the pies with the filling in:


Here are the pies with the lids on. I brushed them with egg whites and put them in a 350 degree pre-heated oven for 1 hour.


Here is what they looked like when done. And trust me - they tasted even better. One complaint about the chicken - my had too much sauce but I think that was because I didn't have enough chicken in the first place.

Starter Update - DOA

So.... haven't heard much about that great starter eh? Well, it died. And I was a little ashamed of my neglect so I didn't say anything. I had the funeral last night. I was a private affair, just me the sink and my starter. I'm kind of glad I didn't name it afterall.

However, the circle of life must go on so I've started a new starter! I'm hoping for some good luck (and delicious bread) with this one.

Also, I've purchased a sourdough starter on Ebay so I'll be sure to let you know how that all works out.

Jeff

Monday, September 04, 2006

Yo Cracker!

On my continued quest to find more things to bake and learn different techniques I decided to try a recipe from Alton Brown's "I'm Just Here for the Food: Food x Mixing + Heat = Baking" (see the link on the right) very descriptively titled "Whole Wheat Crackers". Why make crackers you say? I can buy a big box of crackers for like 1.50! I guess I have two reasons for this: 1) because I want to know how they are made 2) because I can So here's the ingredient list:

Dry stuff:
5 oz whole wheat flour (approx 1 cup)


4 3/4 oz all purpose flour


1 3/4 oz sugar


Fat
2 oz unsalted butter (I used salted and I don't think it made any difference)

Liquid:
4 oz milk (approx 1 cup)
1 large egg


Why are all the ingredients in weights? Well because you should be using a kitchen scale when baking. For the why (other than accuracy - the key to success in baking) please check out this link. For weight conversions simply check out this link or go to google and type in the conversion. Example: 6 oz to cups will give you the result quickly and accurately. I have detailed steps of the mixing process - another key to success.

The method for combining your wet and dry ingredients in this case is the Biscuit Method. A short summary of the biscuit method is:


1. while you are getting out your ingredients and hardware weight the butter and put it in the freezer


2. combine your dry ingredients and pulse in the food processor 3 to 4 times

3. rub your fats into your dry ingredients. How is this done? Well first shread your butter into the dry ingredients using a box grater with the big holes. Then use your hands to combine everything (just a quick mix). Then with your fingertips 'rub' the butter into the flour - not
all the butter. Just about half - see the picture.


4. Make a well in the dry mixture and stir the wet ingredients in until they are well combined.


5. coat a surface with flour and roll out the dough. I found this worked much better when I put wax paper on top. You want the dough 1/16" of an inch. I'm not sure I got it that thin so next time I'm going to use the pasta machine. The crackers still turned out great though.


6. Should have put this step earlier - but preheat your oven to 325 degress.
7. Cut the crackers - I used a pizza cutter.


8. Put them into the oven for 30 - 35 minutes. When some crackers turn dark brown take them out. 9. cool them for a few minutes, bag them and they'll stay good for 1 month. So in the end was it worth it? Definately yes! The first time the effort seems a bit much but once you get the technique down you can really crank them out and they are delicious - better than wheat thins!